The File Upload SMS method in SMSGatewayCenter allows you to send text messages efficiently to multiple recipients by uploading a file containing mobile numbers. This step-by-step tutorial will guide you through using the Send File Upload SMS (Mobile Only) feature, explaining each field and functionality to ensure you send messages successfully while avoiding common pitfalls.
Step-by-Step Guide #
1. Access the Send File Upload SMS Interface #
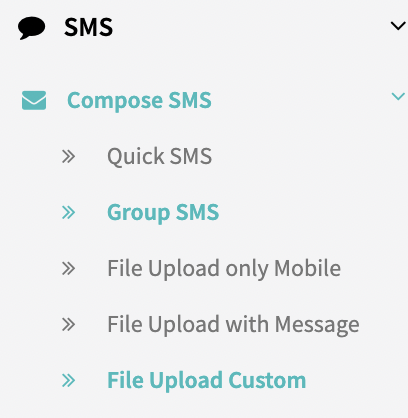
- What to Do: Log in to your SMSGatewayCenter account and navigate to the Compose SMS menu, where you’ll find the File Upload Only Mobile option. Select this method to send messages using a file of mobile numbers.
- What Not to Do: Don’t attempt to send messages without logging in, as unauthorized access will result in errors or blocked requests. Avoid using the File Upload method if you need to send to individual numbers or groups—use the Quick Send or Group Send methods instead.
2. Add an Identifier for Your Campaign #
- What to Do: In the Identifier field, enter a title or name for your campaign (e.g., “Q1 Promo Campaign,” “Customer Alerts”). This helps you identify and organize your SMS campaigns easily in reports or logs.
- What Not to Do: Don’t leave the Identifier field blank, as this could make it harder to track your campaign. Avoid using vague or duplicate titles (e.g., “Campaign 1,” “Untitled”), which could confuse your records.

3. Verify the Send Type Field #
- What to Do: Note that the Send Type field is preselected as “File Upload” and cannot be changed. This confirms you’re using the File Upload method to send messages based on a file of mobile numbers, not individual entries or groups.
- What Not to Do: Don’t try to modify or override the “File Upload” setting, as it’s fixed for this method. Avoid confusion by ensuring your file is prepared correctly before proceeding.
4. Select a Sender ID #
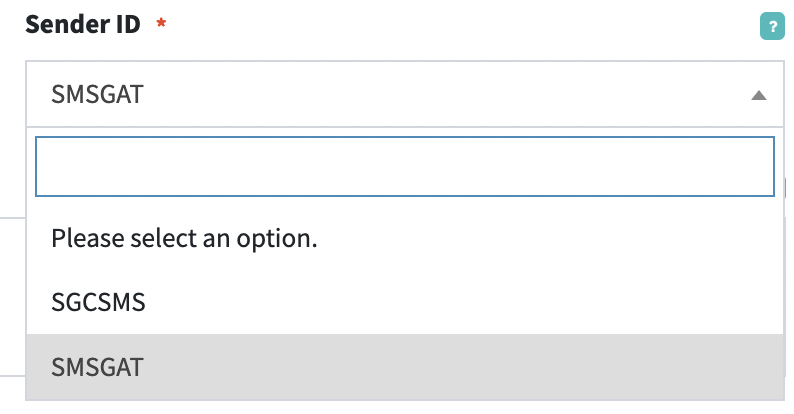
- What to Do: In the Sender ID field, select an approved sender ID from the dropdown list. This alphanumeric name or number will appear on recipients’ phones, identifying you as the sender. Choose an appropriate sender ID based on your campaign needs. You can set a default sender ID in the Sender ID section of your account, which will automatically load on the compose page for convenience.
- What Not to Do: Don’t use an unapproved or unrecognized sender ID, as this can lead to message rejections by operators. Avoid leaving this field blank or selecting a sender ID not registered for your account.
5. Download and Prepare Your File #
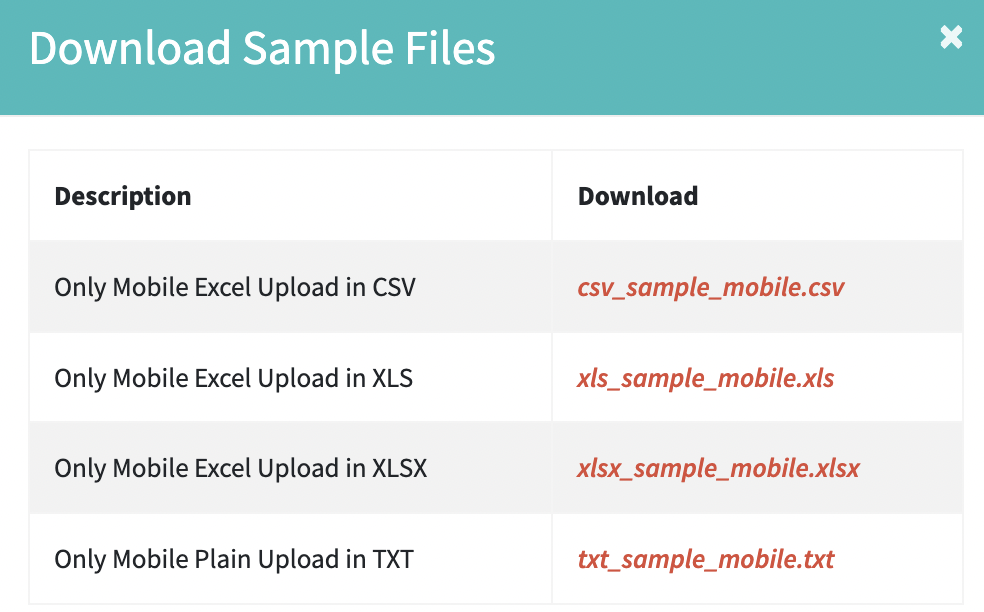
- What to Do: To prepare your file for uploading, click the “Download Sample File” link in the interface. This will download a sample file (e.g.,
.csv,.xls,.xlsx, or.txt) that you can use as a template. Ensure your file includes a column with the header “Phone” and lists mobile numbers in the correct format, such as including the country code (e.g.,91xxxxxxxxx1,91xxxxxxxxx2). Supported file extensions include.csv,.xls,.xlsx, and.txt, and you can zip these files for upload if needed. - Example format in the file:
Phone 91xxxxxxxxx1 91xxxxxxxxx2 91xxxxxxxxx3 - What Not to Do: Don’t use unsupported file formats (e.g.,
.doc,.pdf) or files without the “Phone” column header, as this will cause upload failures. Avoid including invalid or duplicate numbers without checking the Remove Duplicates option (see Step 9). Don’t modify the sample file structure unnecessarily, as this could disrupt the upload process.
6. Upload Your File #
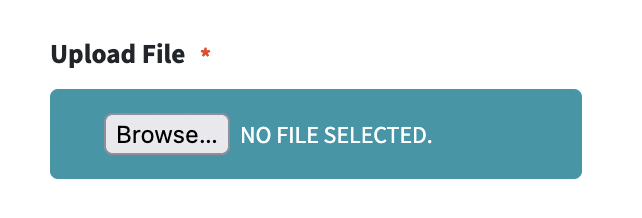
- What to Do: In the Upload File field, browse your computer’s files and select the prepared file (e.g.,
.csv,.xls,.xlsx,.txt, or a zipped version). Ensure the file follows the sample format, with mobile numbers listed under the “Phone” column and in the correct format (e.g., with country codes). Click the upload button to submit the file, and wait for the system to process it. - What Not to Do: Don’t upload files with incorrect formats, missing headers, or invalid data, as this will result in errors or failed uploads. Avoid uploading extremely large files without testing a smaller batch first, as this could exceed system limits or cause performance issues.
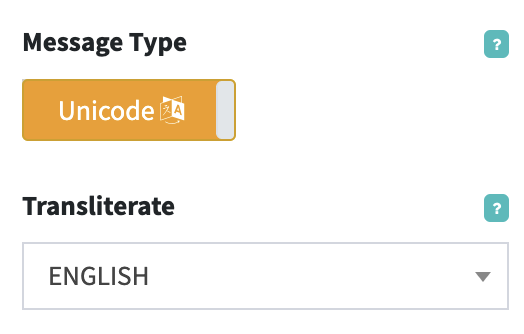
7. Choose the Message Type #
- What to Do: Use the Message Type field to select your send method. The default options are:
- Text: Send messages using the GSM 03.38 character set (standard Latin characters).
- Unicode: Send messages using the Unicode character set for non-Latin characters (e.g., Hindi, Arabic).
- If you choose Unicode, type your message in English, press the spacebar, and select a language from the dropdown (e.g., Hindi) to transliterate the text automatically (e.g., “Namaste” becomes नमस्ते).
- What Not to Do: Don’t select Unicode unless you need non-Latin characters, as it can increase message costs. Avoid mixing Text and Unicode characters in the same message without understanding cost implications, as Unicode messages are priced higher.
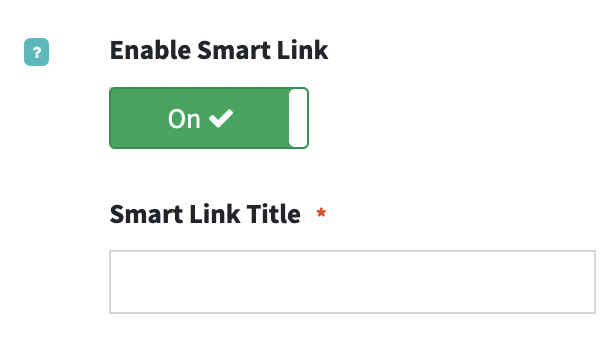
8. Enable Smart Link (Optional) #
- What to Do: If you want to include a smart link, toggle the Enable Smart Link switch to “On.” A Smart Link Title field will appear—enter a title for the link. In the Text Message field (Step 10), click the “Smart Link” or “Media Link” options to open a modal, where you can add a new link or select from previously saved links. The link will be appended to your message automatically.
- What Not to Do: Don’t enable Smart Link unless your campaign requires interactive links, as unnecessary links can confuse recipients. Avoid using invalid or broken URLs, which could lead to delivery issues or user frustration.
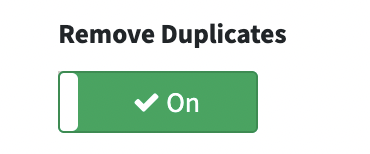
9. Remove Duplicates (Optional) #
- What to Do: By default, the Remove Duplicates option is enabled, removing any duplicate numbers from your uploaded file to prevent redundant sends. If you intentionally want to send messages to duplicate numbers, uncheck this option—but proceed with caution, as some operators may block duplicate deliveries, leading to failures.
- What Not to Do: Don’t uncheck this option without a specific reason, as sending to duplicate numbers can waste credits, increase costs, and result in delivery failures. Avoid uploading files with known duplicates without reviewing operator policies.
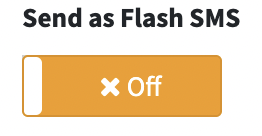
10. Send as Flash SMS (Optional) #
- What to Do: If you want the SMS to appear as a pop-up on the recipient’s device, enable the Send as Flash SMS toggle. This is useful for urgent notifications but should be used sparingly.
- What Not to Do: Don’t overuse Flash SMS, as recipients may find it intrusive, and some operators or devices may restrict or block it. Avoid using Flash SMS for non-urgent or promotional messages.
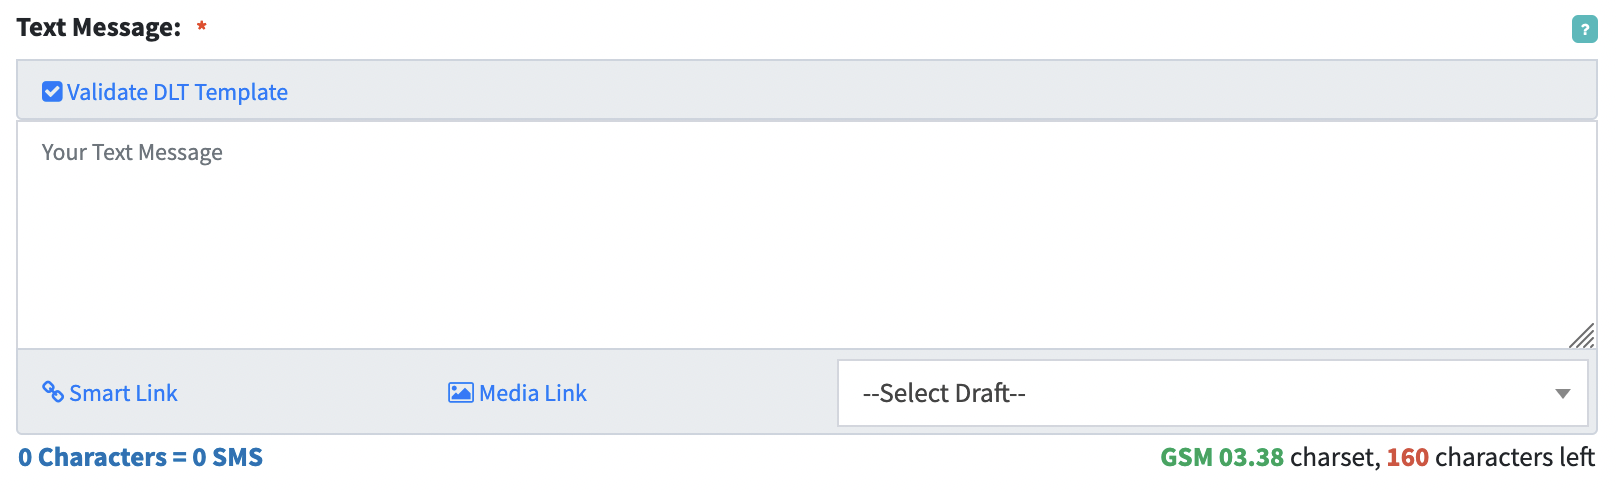
11. Compose Your Text Message #
- What to Do: Enter your message content in the Text Message field. You can send both Text and Unicode messages here, or combine them, but note that Unicode content may increase costs. Use the DLT Templates List (Step 12) or drafts (Step 14) to streamline message creation. Review the live preview in the right column to see how the message will appear on a mobile device, including the sender name, timestamp, and content.
- What Not to Do: Don’t exceed character limits (160 for Text, 70 for Unicode per message part) without understanding how this affects costs or delivery (messages may be split into multiple parts). Avoid including sensitive or inappropriate content that could violate regulations or operator policies.
12. Select or Add a DLT Template #
- What to Do: Use the DLT Templates List field to choose a pre-approved template based on your selected sender ID. The template will automatically populate in the Text Message field, and the associated DLT Template ID will be added to the DLT Template ID field. If you manually enter a template, ensure you also input the correct template ID in the DLT Template ID field to comply with regulatory requirements.
- What Not to Do: Don’t use an unapproved or mismatched DLT template, as this can result in message rejection due to regulatory non-compliance (e.g., DLT in India). Avoid leaving the DLT Template ID field blank if manually adding a template.

13. Save as Draft (Optional) #
- What to Do: If you want to save your message for later use, enable the Save Message Content as Draft toggle. This saves the content in the Text Message field, allowing you to retrieve and append it later, which is helpful for recurring campaigns or unfinished messages.
- What Not to Do: Don’t rely on drafts for sensitive or time-sensitive messages without securing them, as drafts are tied to your account and could be accidentally modified or deleted. Avoid overwriting existing drafts without confirming the content.

14. Schedule Your Message (Optional) #
- What to Do: If you want to send the message at a future date and time, use the Schedule field to enter the desired schedule (e.g., “2025-03-07 16:00:00”). The message will be delivered at the specified time. You can later update or cancel the schedule via the Manage Schedule menu in your account.
- What Not to Do: Don’t schedule messages without verifying the time zone (use your account’s default time zone or specify UTC/GMT explicitly). Avoid scheduling messages too far in advance without monitoring operator policies, as some may limit scheduling periods.

15. Enable Campaign Manager (Optional, with Scheduling) #
- What to Do: If you’ve enabled the Schedule field, you can toggle the Enable Campaign Manager switch to “On” to send your campaign in chunks or batches. This is useful for large file uploads to manage delivery rates and avoid operator throttling. Two additional fields will appear:
- Campaign Limit: Enter the number of messages to send per batch (e.g., 10,000 out of 100,000 total contacts).
- Time Interval: Select an interval from the dropdown (e.g., 1 hour) to space out batches, ensuring smooth delivery.
- What Not to Do: Don’t set an unrealistically low or high Campaign Limit without testing, as this can overwhelm operators or delay delivery. Avoid choosing a Time Interval that’s too short, which could trigger rate limits or delivery failures.

16. Add WhatsApp Integration (Optional) #
- What to Do: If you want to include a WhatsApp link, enable the Send WhatsApp Link toggle. Enter your personal WhatsApp number (with the country code) in the WhatsApp Number field and optional default text in the WhatsApp Text field (e.g., “Hi ABC, please contact me”). This generates a short link that, when clicked by recipients, opens WhatsApp to send a message to your number with the default text.
- What Not to Do: Don’t enable this feature unless your campaign targets WhatsApp users, as it may confuse SMS recipients. Avoid using invalid WhatsApp numbers or spam-like default text, which could violate WhatsApp policies or lead to rejections.

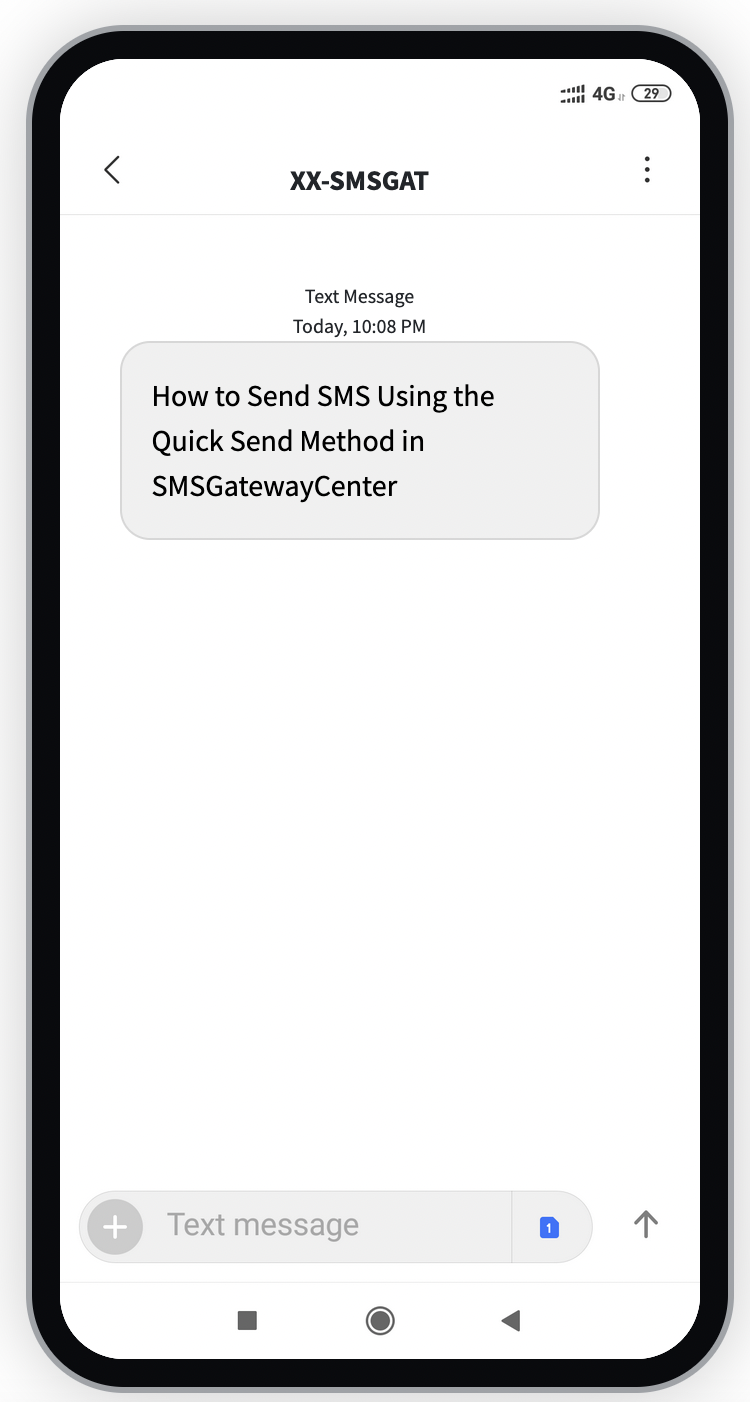
17. Review and Send #
- What to Do: Before sending, review the live preview in the right column to ensure the message, sender ID, and timestamp appear as expected on a mobile device. Once satisfied, click the Send Text button to initiate sending the SMS to the recipients listed in your uploaded file with your configured options.
- What Not to Do: Don’t send messages without reviewing the preview, as formatting or content errors could lead to delivery failures or user confusion. Avoid sending bulk messages from large files without testing a small batch first to verify delivery and compliance.
Best Practices and Tips #
- File Preparation: Before uploading, ensure your file is clean, free of duplicates, and formatted correctly (e.g., “Phone” column with country codes). Use our Download Sample File to verify the structure.
- Monitor Costs: Be aware of cost differences between Text and Unicode messages, Smart Links, and Flash SMS, as these can increase charges for file-based campaigns.
- Secure Data: Use HTTPS for all API calls and protect file data (e.g., mobile numbers) to prevent unauthorized access.
- Regular Updates: Check for updates to Sender IDs, DLT templates, and operator policies to ensure compliance and avoid delivery issues.
Troubleshooting #
- File Upload Failure: If your file upload fails, verify the file format (
.csv,.xls,.xlsx,.txt, or zipped versions) and structure (e.g., “Phone” column). Check for errors in the upload log and adjust accordingly. - Message Not Delivered: Verify file contacts, Sender IDs, and DLT templates. Check the Delivery Report for error codes (e.g., DND, Network Error) and refer to our Delivery Error Codes Reference.
- Duplicate Numbers Fail: Ensure the Remove Duplicates option is enabled unless intentional duplicates are required, and review operator policies.
- Campaign Manager Issues: If batches fail or delivery is delayed, adjust the Campaign Limit and Time Interval, then test with a smaller file. Contact our team if problems persist.
For further assistance, contact our team at contact @ smsgatewaycenter.com or refer to our API Documentation.